
Cómo configurar OpenClaw
Una guía práctica para canales, modelos, voz y automatización del navegador.
Requisitos previos
- 1Node.js 18+ instalado
- 2Se recomiendan más de 4 GB de RAM
- 3Linux, macOS o Windows
- 4Conexión a Internet siempre activa
Telegram Configuración
- 1Abra Telegram y busque @BotFather
- 2Enviar /newbot para crear un bot
- 3Copie el token API
- 4Agregar token a la configuración OpenClaw
Discord Configuración
- 1Vaya al portal para desarrolladores Discord
- 2Crear nueva aplicación
- 3Crear bot y obtener token
- 4Habilitar intenciones requeridas
Canal de voz
- 1Instale Whisper para conversión de voz a texto
- 2Instale Kokoro TTS para conversión de texto a voz
- 3Configurar dispositivos de audio
Modelos de IA
- 1Conecta un proveedor — inicio de sesión de ChatGPT o clave API (OpenAI, Anthropic, etc.)
- 2O descargar modelos locales
- 3Configurar las preferencias del modelo
- 4Pruebe con un simple mensaje
Configuración avanzada
- 1Configurar systemd para inicio automático
- 2Configurar la automatización del navegador
- 3Configurar trabajos cron para monitoreo
Consejos profesionales
Ejecute 'estado de openclaw' para verificar si todos los servicios se están ejecutando correctamente
Utilice 'systemctl restart openclaw' si encuentra algún problema después de la configuración
Verifique los registros con 'journalctl -u openclaw -f' para depuración en tiempo real
Habilite las actualizaciones automáticas para obtener las últimas funciones y parches de seguridad
How to set up OpenClaw on the right hardware
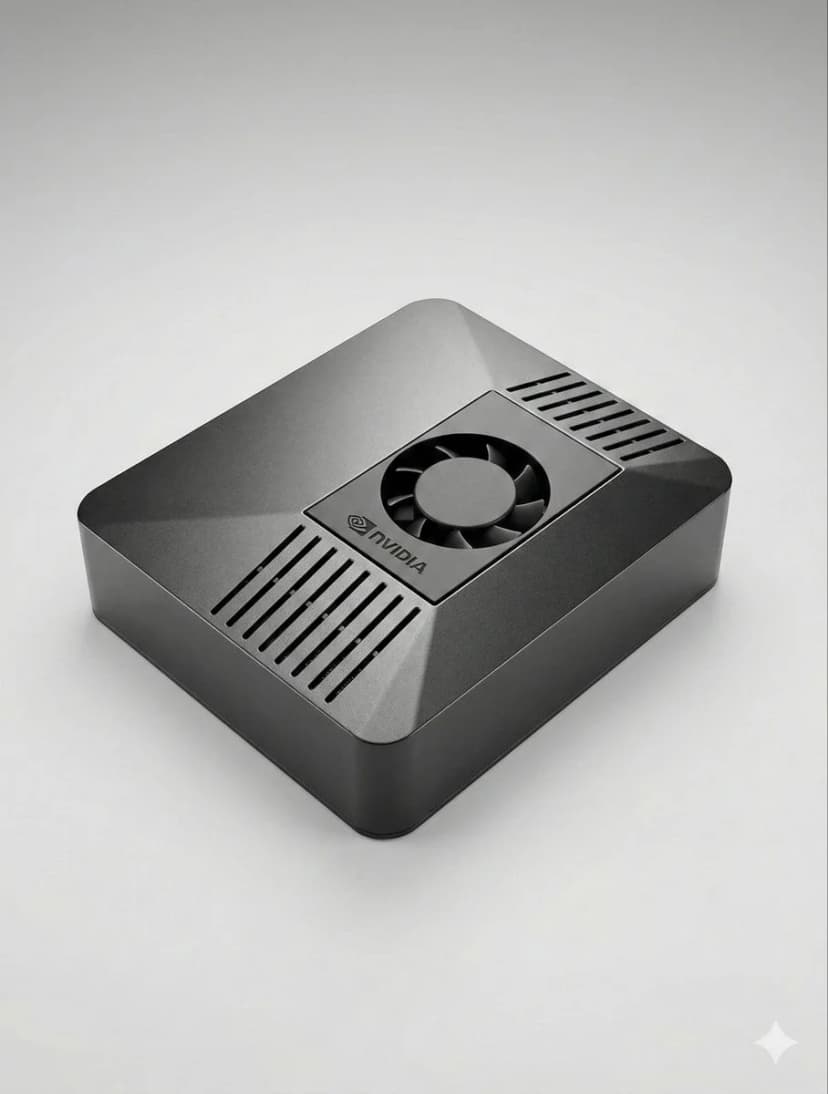
OpenClaw setup is fastest when the hardware is already matched to your workload. If you are still deciding between ClawBox, Raspberry Pi, Mac Mini, or a mini PC, start with our guide to the best OpenClaw hardware before you configure bots, voice, and browser automation.
How to Set Up OpenClaw FAQ
How to set up OpenClaw?+
The fastest OpenClaw setup is to use ClawBox: plug in power and network, open the setup page, connect Telegram or Discord, choose your model provider, and scan the pairing QR code. On your own hardware, install Node.js, configure OpenClaw, add a channel token, and keep the machine online.
Can I set up OpenClaw without ClawBox?+
Yes. OpenClaw is open source and can run on a mini PC, Mac, Raspberry Pi, home server, or cloud VM. ClawBox is the guided path when you want the hardware, storage, GPU acceleration, and OpenClaw software already prepared.
What should I prepare before OpenClaw setup?+
Prepare an always-on machine, a stable network connection, the messaging channel you want to use, and whichever model provider you prefer. If you plan to use local AI models, choose hardware with enough RAM, storage, and GPU acceleration.
¿Necesitar ayuda?
Únase a nuestra comunidad Discord para obtener ayuda con la configuración.
If you want the more structured step-by-step reference version, including troubleshooting follow-up, open the docs setup guide.
If your main goal is messaging, jump straight to the OpenClaw Telegram setup guide for BotFather, allowFrom, pairing, and group-safe defaults.
If you want a softer introduction before the full setup flow, start with the OpenClaw beginner tutorial. If you are deciding whether to use Windows or Raspberry Pi, the dedicated guides above will save you time.
Skip the Setup — Get ClawBox
Pre-configured with OpenClaw + 4 AI models. Plug in, connect WiFi, scan QR. Done in 5 minutes.
Garantía de devolución de dinero de 30 días